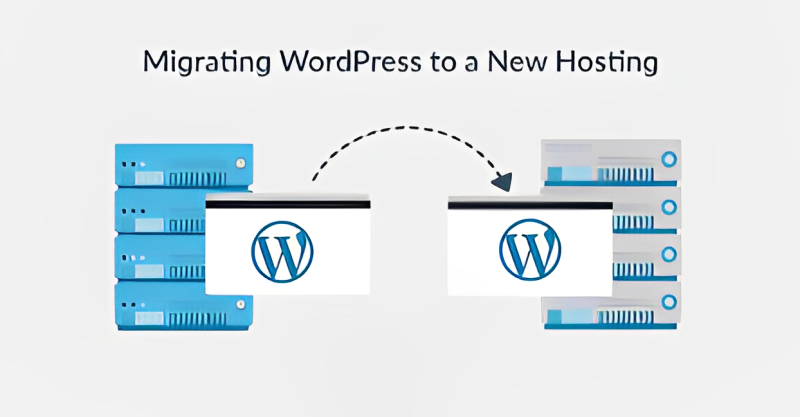
Migrating Your Website to a New Hosting Provider: A Step-by-Step Guide
In the fast-paced digital landscape, businesses often find it necessary to switch their hosting providers for improved performance, enhanced features, or better customer support. Migrating your website to a new hosting provider can be a crucial step towards ensuring optimal online presence. To make this process smoother, here’s a comprehensive step-by-step guide:
1. Evaluate Your Current Hosting Situation
Assess your current hosting provider’s performance.
Identify specific issues or limitations prompting the migration.
2. Choose the Right Hosting Provider
Research and compare potential hosting providers.
Consider factors such as server reliability, customer support, and scalability.
3. Backup Your Website Data
Ensure all website files, databases, and configurations are backed up.
Explore automated backup options for added security.
4. Set Up Your New Hosting Account
Register with the new hosting provider.
Configure essential settings and create necessary email accounts.
5. Migrate Your Website Files
Transfer website files to the new hosting environment.
Verify the integrity of the transferred data.
6. Export and Import Databases
Export databases from the old host.
Import databases to the new hosting provider.
7. Update Domain DNS Records
Point your domain to the new hosting provider’s nameservers.
Allow time for DNS propagation.
8. Test Your Website
Check website functionality on the new host.
Address any issues or discrepancies.
9. Update Configuration Settings
Adjust configuration files for the new hosting environment.
Ensure compatibility with the new server specifications.
10. Monitor Website Performance
Monitor website performance post-migration.
Address any lingering issues and optimize as needed.
11. Communicate the Migration to Stakeholders
Notify your team and users about the migration schedule.
Provide relevant information on potential downtime.
12. Finalize the Migration
Confirm that all website components are functioning as expected.
Complete the migration process and decommission the old hosting account.
Migrating your website to a new hosting provider requires careful planning and execution. By following this step-by-step guide, you can minimize potential disruptions and ensure a seamless transition to a hosting solution that aligns with your business needs. Remember to continuously monitor your website’s performance post-migration to guarantee a positive user experience.